Now this is no digital point and shoot. This is old school black & white photography with film to be loaded. Yes, you heard right. Cameras sometimes use film. No memory cards here. It's a LOT of work to get a good photo. And for you who casually peruse a friend's or relative's photos and just say, "Hmm, those are nice;" let me just say to you that you need to think twice. Consider how much work went into them and only then can you fully appreciate them. Not to mention, it's nice to hear more from people than just, "Those are nice." We photographers need more praise. And here's why:
Here's the rundown of how you get a finished black & white photograph:
1) Get your camera and film.
 Here's the camera I use.
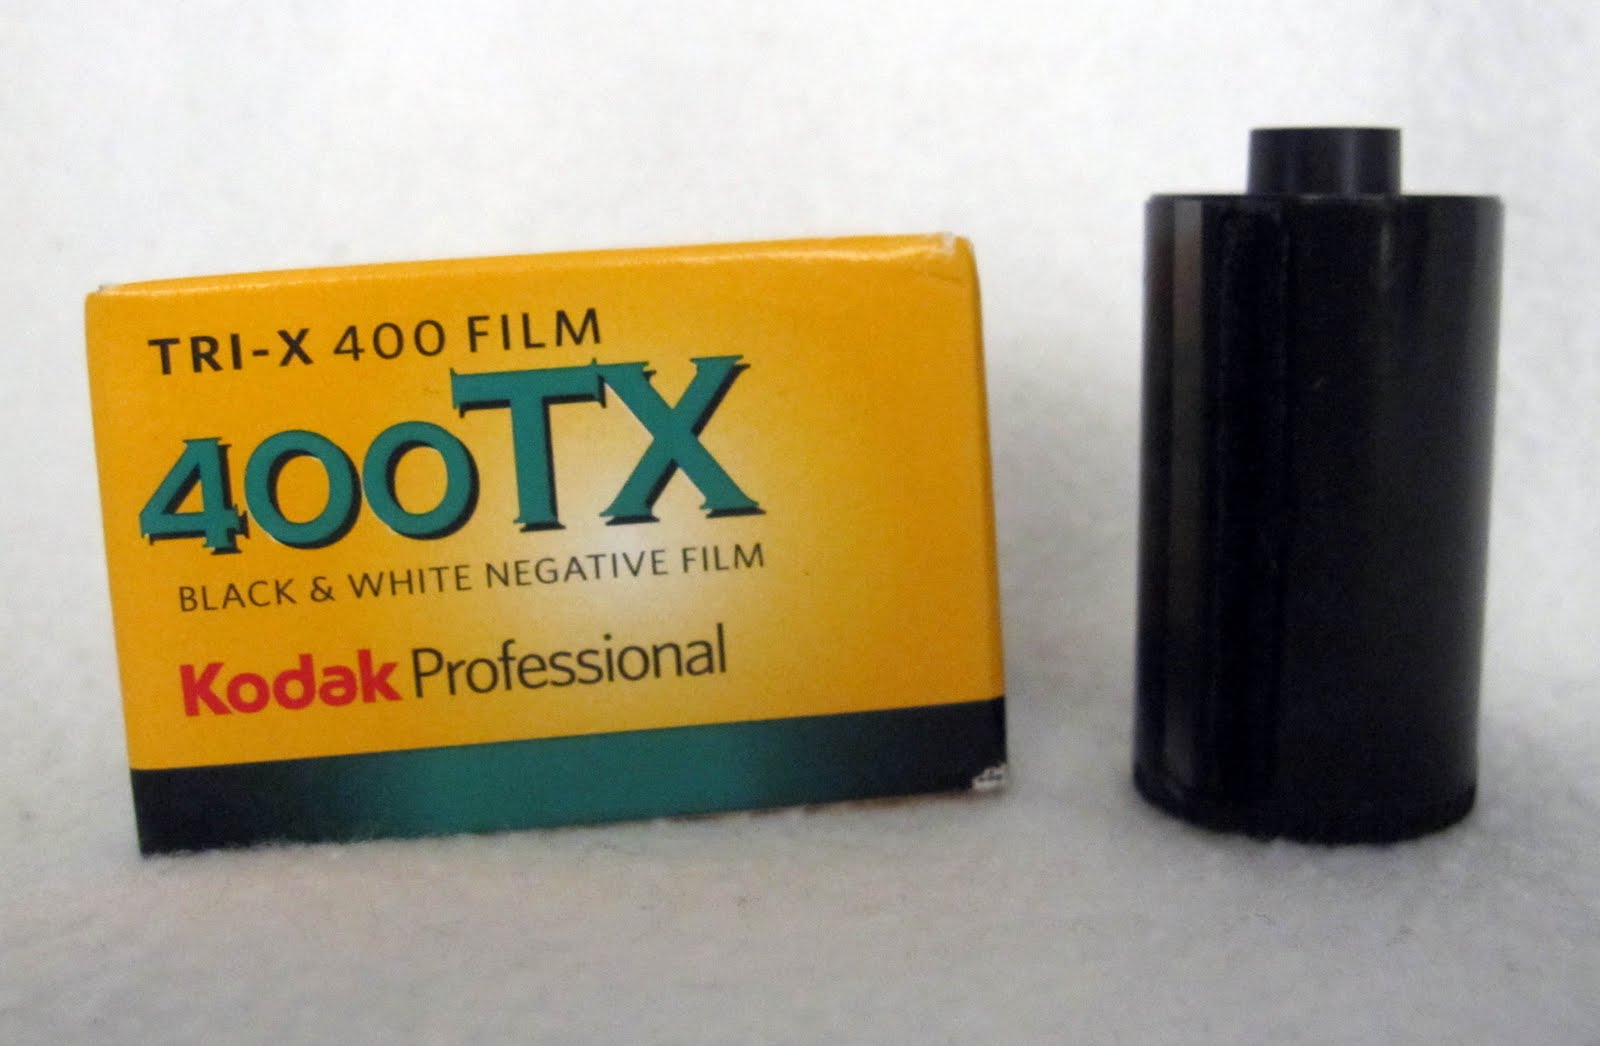 For my class, we use Trx-400 black & white film. Very important to use the correct film.
 You load it in the back.
2) Go take pictures!

3) Once you've used all of your film, it's time to develop. After making sure your film has rewound back into the canister, you can open the back of the camera and remove it. Exposing your film to any amount of light means you're majorly screwed. No more pictures for you!
You must take your canister, a film reel and other accessories to a light-tight closet. People with claustrophobia beware. Here in this completely dark room, you have to take your film and roll it onto a reel that will then be put into a light-tight canister with a special lid that allows liquid in through the top, but not light. On to the chemistry!

4) Developing the film includes lots of chemistry and time. Here's the order they must go in: Pre-wet, Developer, Stop Bath, Fixer, Rinse, Orbit bath, Final wash, and Photo-Flo. This process in addition to rolling your film onto reels typically takes over an hour. Once this is done, you unroll your wet film. Hopefully you can see pictures on your negatives! Now they must hang dry for 3 hours. Once dry, you can cut your negatives to fit your negative sleeves.
5) Take your negatives into the print darkroom and make a contact sheet. This will let you see what your pictures will look like. (Remember, the negatives alone are reversals of light. Dark areas will be bright on a regular print and vice-versa.)


6) Pick the picture you want, the enlarger you want to work on, and get started. Insert the chosen film into the enlarger, use test strips to determine correct exposure time, choose the right filter (the filter will cause less or more contrast depending on the filter), and once everything is just right, use a full sheet of resin coated paper to make a full size print. Once the image is recorded onto the paper via light, it goes through chemistry too; developer, stop bath and fixer. This process of printing has taken me 3 hours to get one photo just right. Sometimes I get lucky and it only takes me half of this time.

7) Your photo will then be washed and dried. Now you have a print! But odds are that it will have spots. (White spots caused by dust on the negative.) Super. Now you have to spot your print. You use a tiny brush and black photo-paper ink to fill in these little white spots to match the shading of the image. When finished with that, you can mount your photo using white matte-board.
8) Admire your photo!

See how much grueling work is involved? So next time someone wants to show you their darkroom work and photos, give them the time they deserve and say more than just, "That's nice."
No comments:
Post a Comment